Futaba Industrial reduces measurement time by 45% and implements digital transformation enterprisewide with the PolyWorks® 3D Metrology Digital Ecosystem
Futaba Industrial is a global automobile stamped parts manufacturer founded in 1945 and headquartered in Okazaki city, Aichi, Japan. Futaba Industrial produces car body parts and exhaust system parts, made by press working, for major car manufacturers. Including subsidiaries, it has over 10,000 employees in 10 factories in Japan and 19 companies in overseas bases in Europe, Asia, and North America.

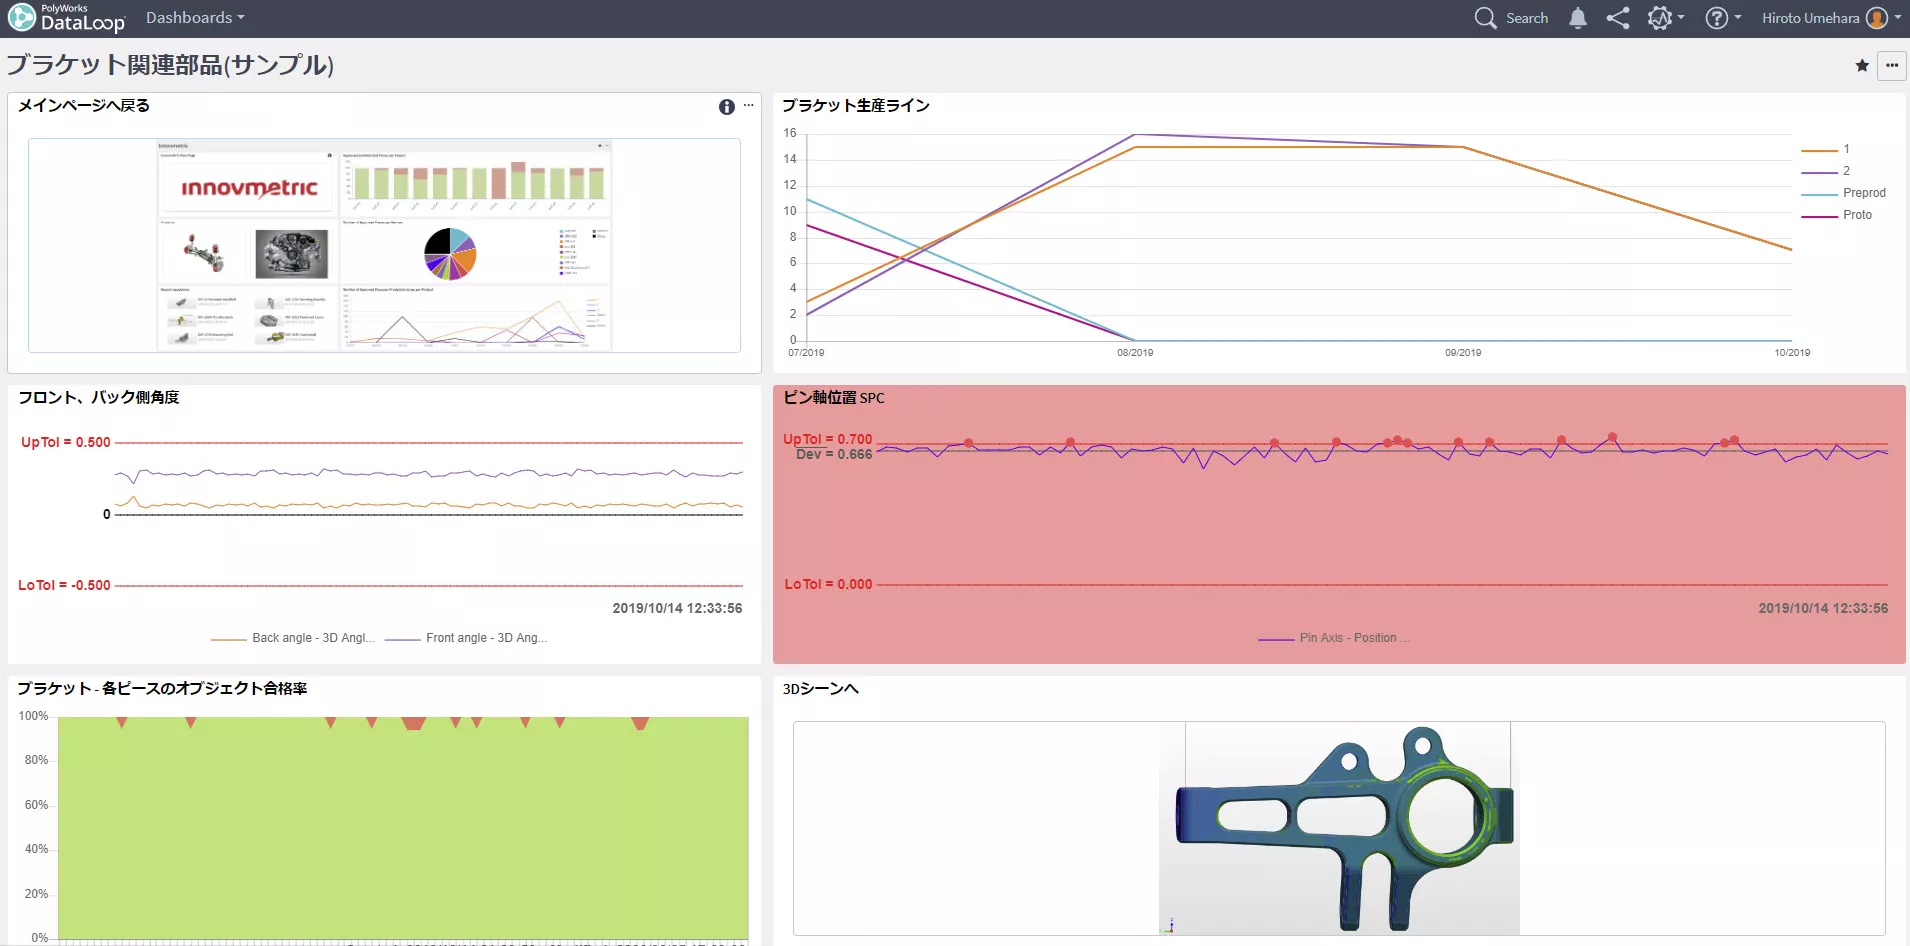
PolyWorks|DataLoop is a solution that enables centralized data management for PolyWorks|Inspector projects and implements optimal operations for handling the large amount of data.
The Challenge
In order to meet the strict quality standards of automobile manufacturers, Futaba Industrial repeats prototyping and measurement as part of preparation work for production. They measure the prototype products and confirm that the deviations are within tolerance while making improvements and inspections.
Futaba Industrial originally used gauges and vernier calipers for measurement work, which relied on manual operation. Engineers would transcribe measurement results to paper, which could lead to errors. This approach made it difficult to improve work efficiency and was dependent on the skill of the person in charge.
The Solution
To solve this challenge, Futaba Industrial decided in 2001 to start using 3D measurement devices with the PolyWorks|Inspector™ software from InnovMetric, a Canadian company, to increase the efficiency of their measurement operations. Futaba was familiar with the software since it was being used by some of its customers. Futaba has continued to use PolyWorks|Inspector ever since.
Recently, Futaba Industrial expanded its use of PolyWorks|Inspector with 3D measurement devices. In the beginning, they used a measurement device only at the Takahashi factory. Now, they use PolyWorks|Inspector with non-contact 3D measurement devices from three different manufacturers and with a CNC CMM, in 10 factories, including subsidiaries, in Japan.
As the use of 3D measurement devices spread, a new need emerged to effectively leverage the measurement data obtained through the combined measurement and inspection process, since it contains valuable know-how and verification results. Mr. Kohei Mizuno, who is in charge of measurement operations at the Takahashi plant, explains, "We originally adopted PolyWorks|Inspector to provide data to our customers, including scans and inspection results. Afterward, we began to consider that we could also use the data, mainly the scans, to improve in-house manufacturing, such as tuning dies. In order to implement that, we had to make it possible for any factory to use the data that is stored on the local computers connected to the measurement devices. We initially copied the necessary PolyWorks|Inspector projects to a USB stick or a server and shared it. However, that was complicated because each time we had to request from other parties the location to copy the files to. And as the number and size of the files increased, it became increasingly difficult to manage."
To resolve this issue, Futaba Industrial decided to install the PolyWorks|DataLoop™ solution that enables the management of PolyWorks|Inspector projects in a centralized database and has a function to extract data attributes. Futaba installed the PolyWorks|DataLoop digital connectivity solution in 2019 and benefitted from the integrated use of PolyWorks|Inspector projects, which tended to be scattered due to the expansion of the use of 3D measurement devices.

Mr. Kouhei Mizuno Manager, Quality Analysis Sect., Body Production Engineering Div., Production Engineering Center, Takahashi Plant ,Futaba Industrial Co., Ltd.
Thanks to PolyWorks|DataLoop, the PolyWorks|Inspector projects can be used not only by the production site of each factory where the measurements are performed but also by the process design department and the management department, enabling access to precious know-how and data.
In addition, through PolyWorks|DataLoop, the company makes it possible to share inspection projects, which are used with the 3D measurement devices, between all factories. "When there is a product design change, the inspection project also needs to be modified. Previously, each site made corrections, but now thanks to PolyWorks|DataLoop, we can share the corrected projects enterprisewide," Mr. Kouhei Mizuno mentioned.
The Benefits
By using PolyWorks|Inspector and 3D measurement devices, the manual transcription of results and the inherent errors have disappeared, saving significant time. Add PolyWorks|DataLoop to the equation, and Futaba Industrial estimates that it has achieved a 45% reduction in person-hours for measurement operations compared to the original manual processes.
Furthermore, Futaba engineers can carry out measurement operations on-site without being preoccupied with the differences between measurement devices since they use the PolyWorks|Inspector software with all their devices. In terms of usability, Mr. Kouhei Mizuno evaluates PolyWorks|Inspector as "outstandingly great," and they were able to install it with peace of mind thanks to the excellent support from the PolyWorks Japan team during the break-in period.
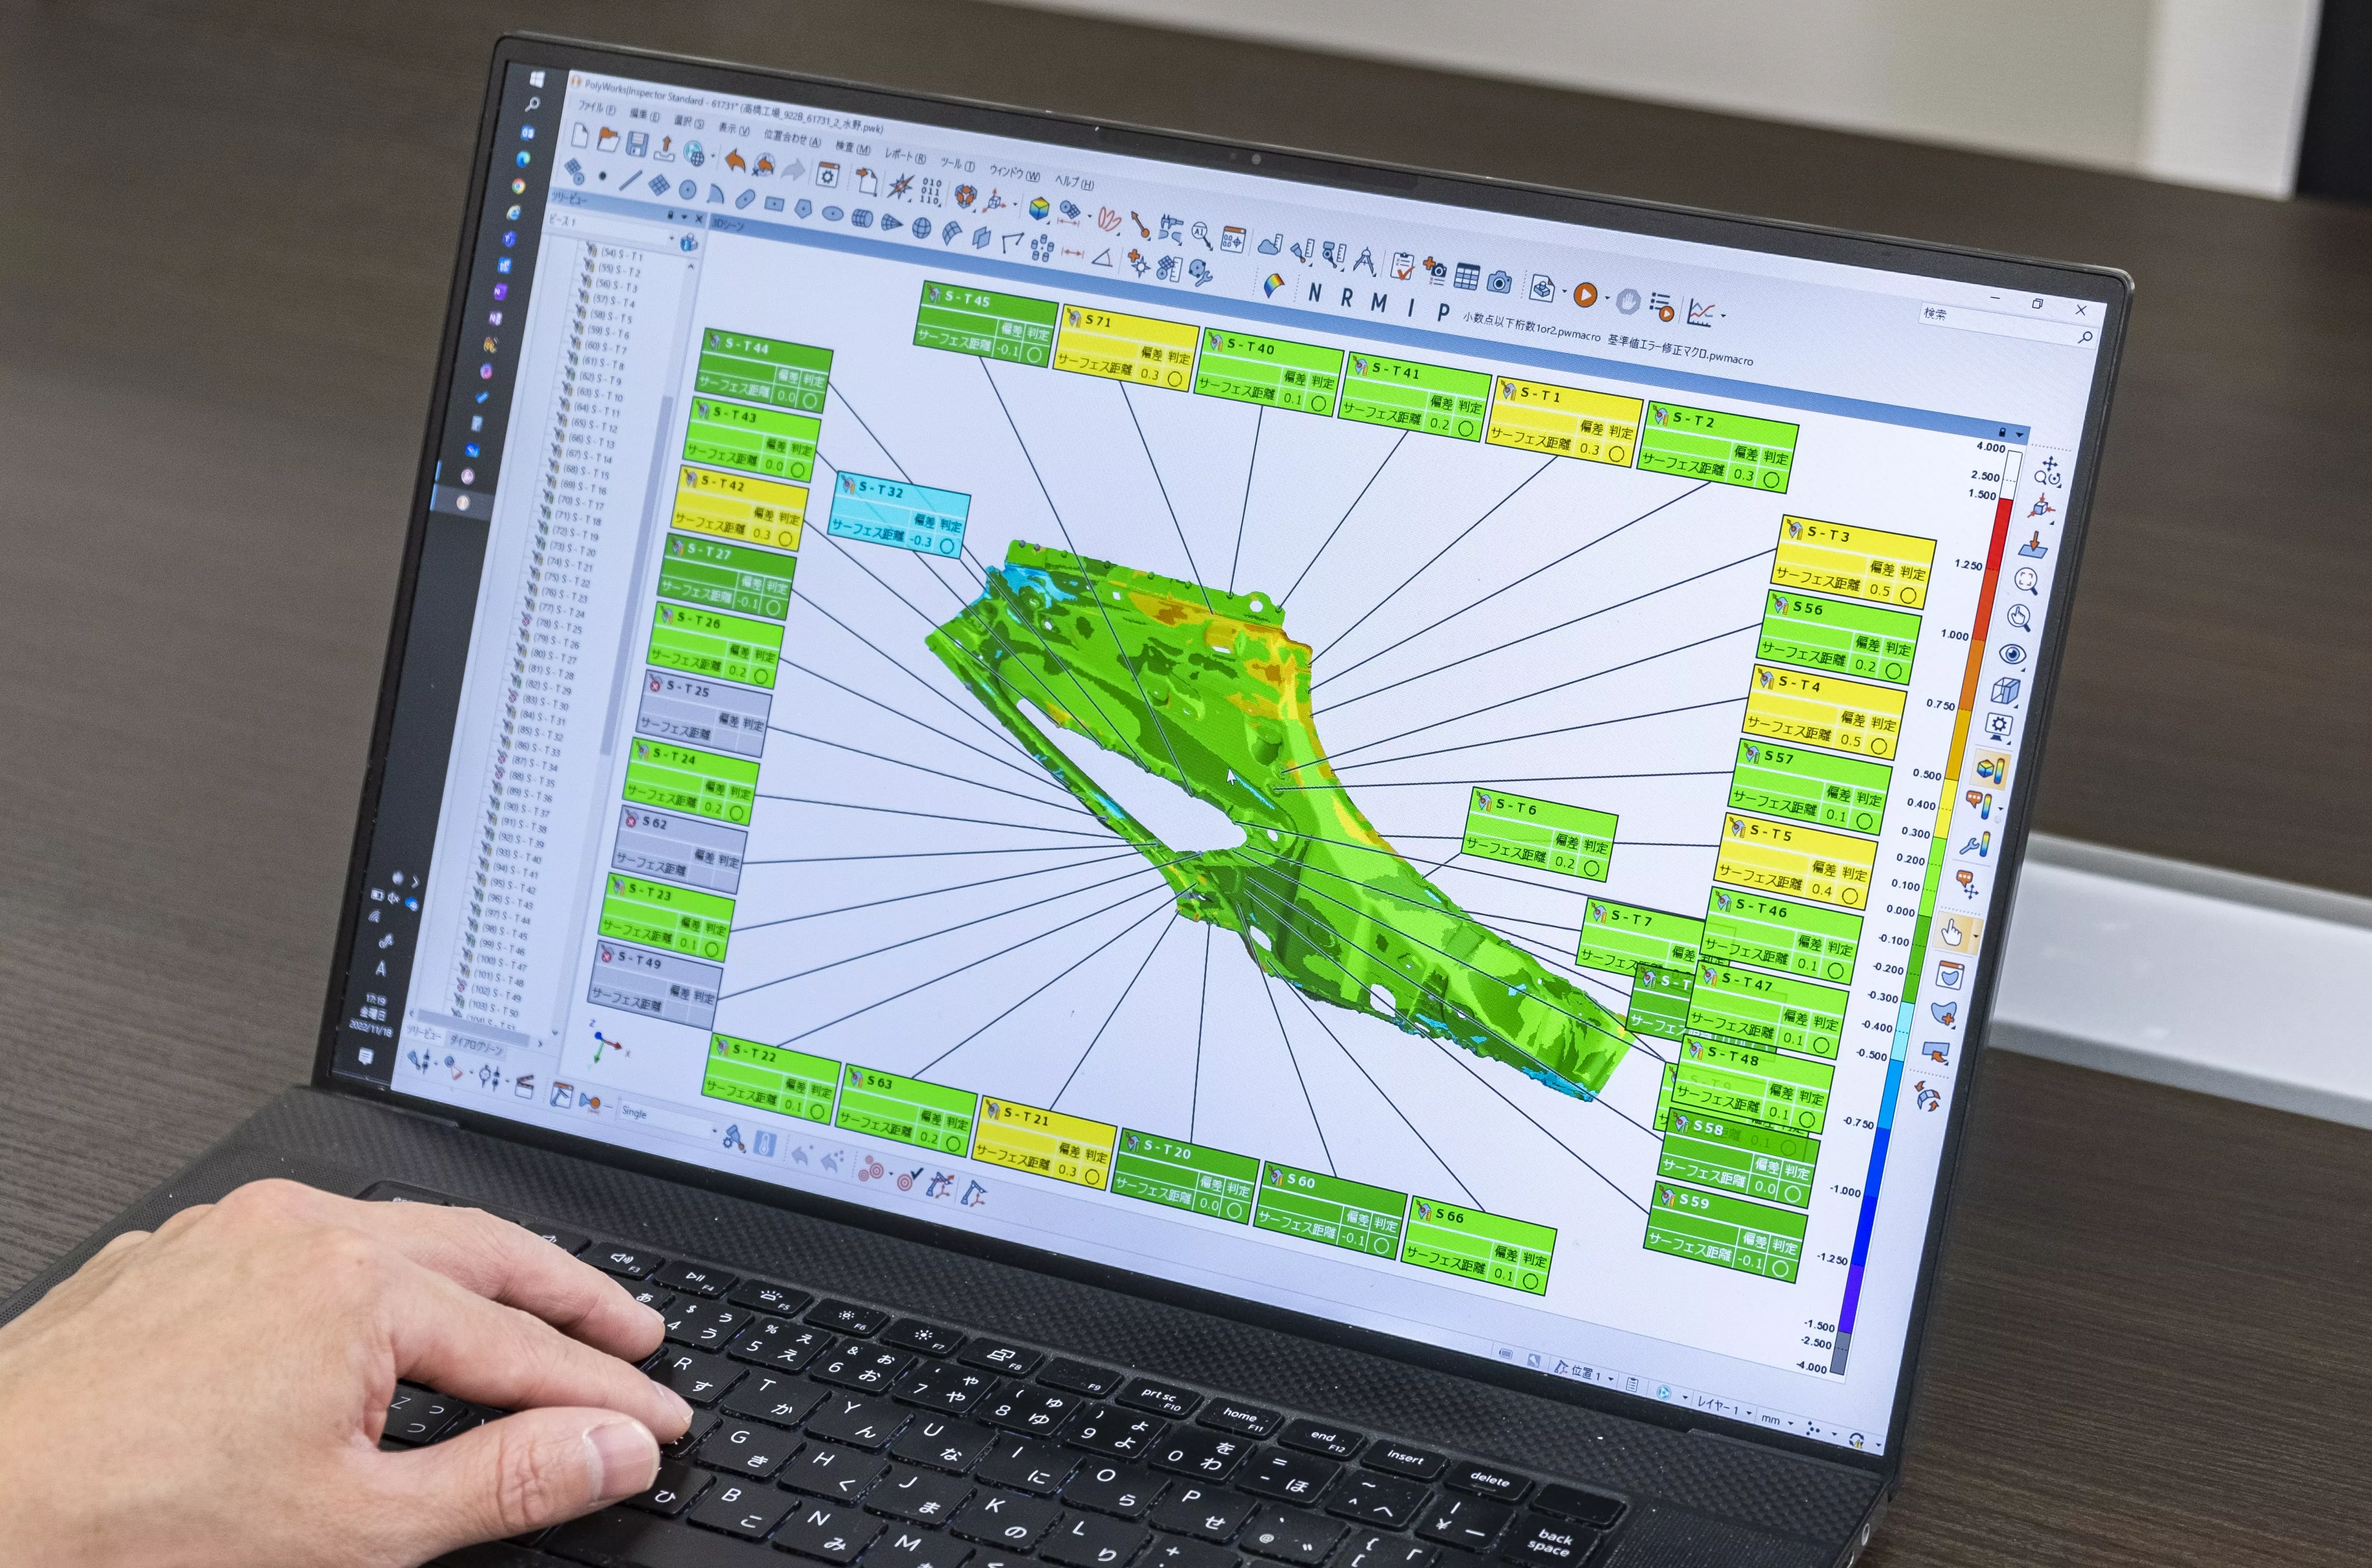
The company also realized the effectiveness of PolyWorks|Inspector color maps while performing measurement operations. A color map displays the deviation between the CAD model and the actual object using colors, making it easy to visualize part deviations at a glance. Mr. Mizuno explains, "We provide the color map data to our customers and leverage it as evidence to easily show the accuracy of our parts."
Finally, the sharing of inspection projects via PolyWorks|DataLoop has an important effect on measurement quality. The projects that are created by engineers with advanced knowledge can now be shared enterprise-wide which lets Futaba Industrial ensure a high quality of measurement at all factories.

PolyWorks|Inspector can display deviations between the CAD model and the actual object through color maps, making it easy to show part quality visually.
Implementation plans with PolyWorks
Futaba Industry currently uses PolyWorks|Inspector and PolyWorks|DataLoop in their domestic factories only. But it plans to expand the scope of its use to multiple overseas facilities in order to increase operational efficiency throughout the group. If the efficiency of measurement operations with PolyWorks|Inspector and the use of data management with PolyWorks|DataLoop progress globally, Futaba expects the effectiveness of their solution to double.
The company is also considering installing PolyWorks|PMI+Loop™, which provides a model-based definition (MBD) solution for CAD platforms that extends their PMI toolset to define a complete measurement plan required for a part inspection. Having PolyWorks|PMI+Loop directly in the CAD software allows the design team to enrich the measurement plan with requirements typically added by the quality control team in the PolyWorks|Inspector software.
"The engineers who are in charge of the design process create various drawings in the process of their work. If a drawing is revised, all related downstream documents must also reflect that revision. We expect that if all files required for part inspection, including CAD geometry and the measurement plan, are centralized, then we will be able to eliminate inefficient operations," Mr. Kouhei Mizuno explains.
Business development for the future
Futaba Industrial aims to utilize its data consistently, including in the design process and for manufacturing which are centered on measurement operations, by leveraging its PolyWorks solution. As an automotive parts manufacturer that requires high-quality control and excellent management, the company feels that digital transformation (DX) is an important element in achieving its objective.
PolyWorks|Inspector has evolved greatly since its release in 2001, offering many new functionalities including multipiece inspection, automatic inspection project update, and plug-ins to directly control portable 3D measuring devices. In 2016, its universal digitizing hub was completed by allowing users to also connect to major brands of CNC CMMs through direct drivers or I++. Today, PolyWorks also integrates measurements performed with digital gauges as well as visual checks, making it a truly universal platform.
The typical workflow for inspecting parts using the PolyWorks|Inspector software consists of importing a CAD model, with or without PMI, in an empty inspection project and creating a measurement plan with nominal values. Then, a first piece is inspected by acquiring data on the part via probing, scanning, or digital gauges. Afterward, the inspection can be simply replayed to measure multiple pieces of the same part. For each piece, once it has been aligned to the CAD model and measured, the inspection results and SPC statistics are immediately available, showing problems and trends. If different types of 3D measurement devices are to be used to measure the pieces, a piece measurement template can be created for each type of device, making it easy to use different devices within the same inspection project. The scanned data is stored in the inspection project, but it can be exported if required.