Découpe H2O can rely on PolyWorks® to accelerate the use of its control systems

Founded in 2009 by Marc Wollenschneider, Découpe H2O specializes in waterjet cutting, sheet metal work, and mechanical welding, ranging from prototypes to small runs.
What operator has never dreamed of one day being able to use dimensional measuring equipment, regardless of the brand, as easily as using a new smartphone. This is what Découpe H2O discovered when adopting the PolyWorks® 3D metrology digital ecosystem to modernize their dimensional control systems.
Découpe H2O was founded in 2009 by its President, Marc Wollenschneider. It employs 12 permanent staff members in Brognard, France, between Belfort and Montbéliard in the department of Doubs. The company specializes in waterjet cutting, sheet metal working, and the mechanical welding of parts based on drawings or specifications, ranging from prototypes to small runs.
“We also offer assembly studies based on prototypes. We work mainly for the automotive industry and, to a lesser extent, in the field of provision of power generation means,“ explains Wollenschneider.
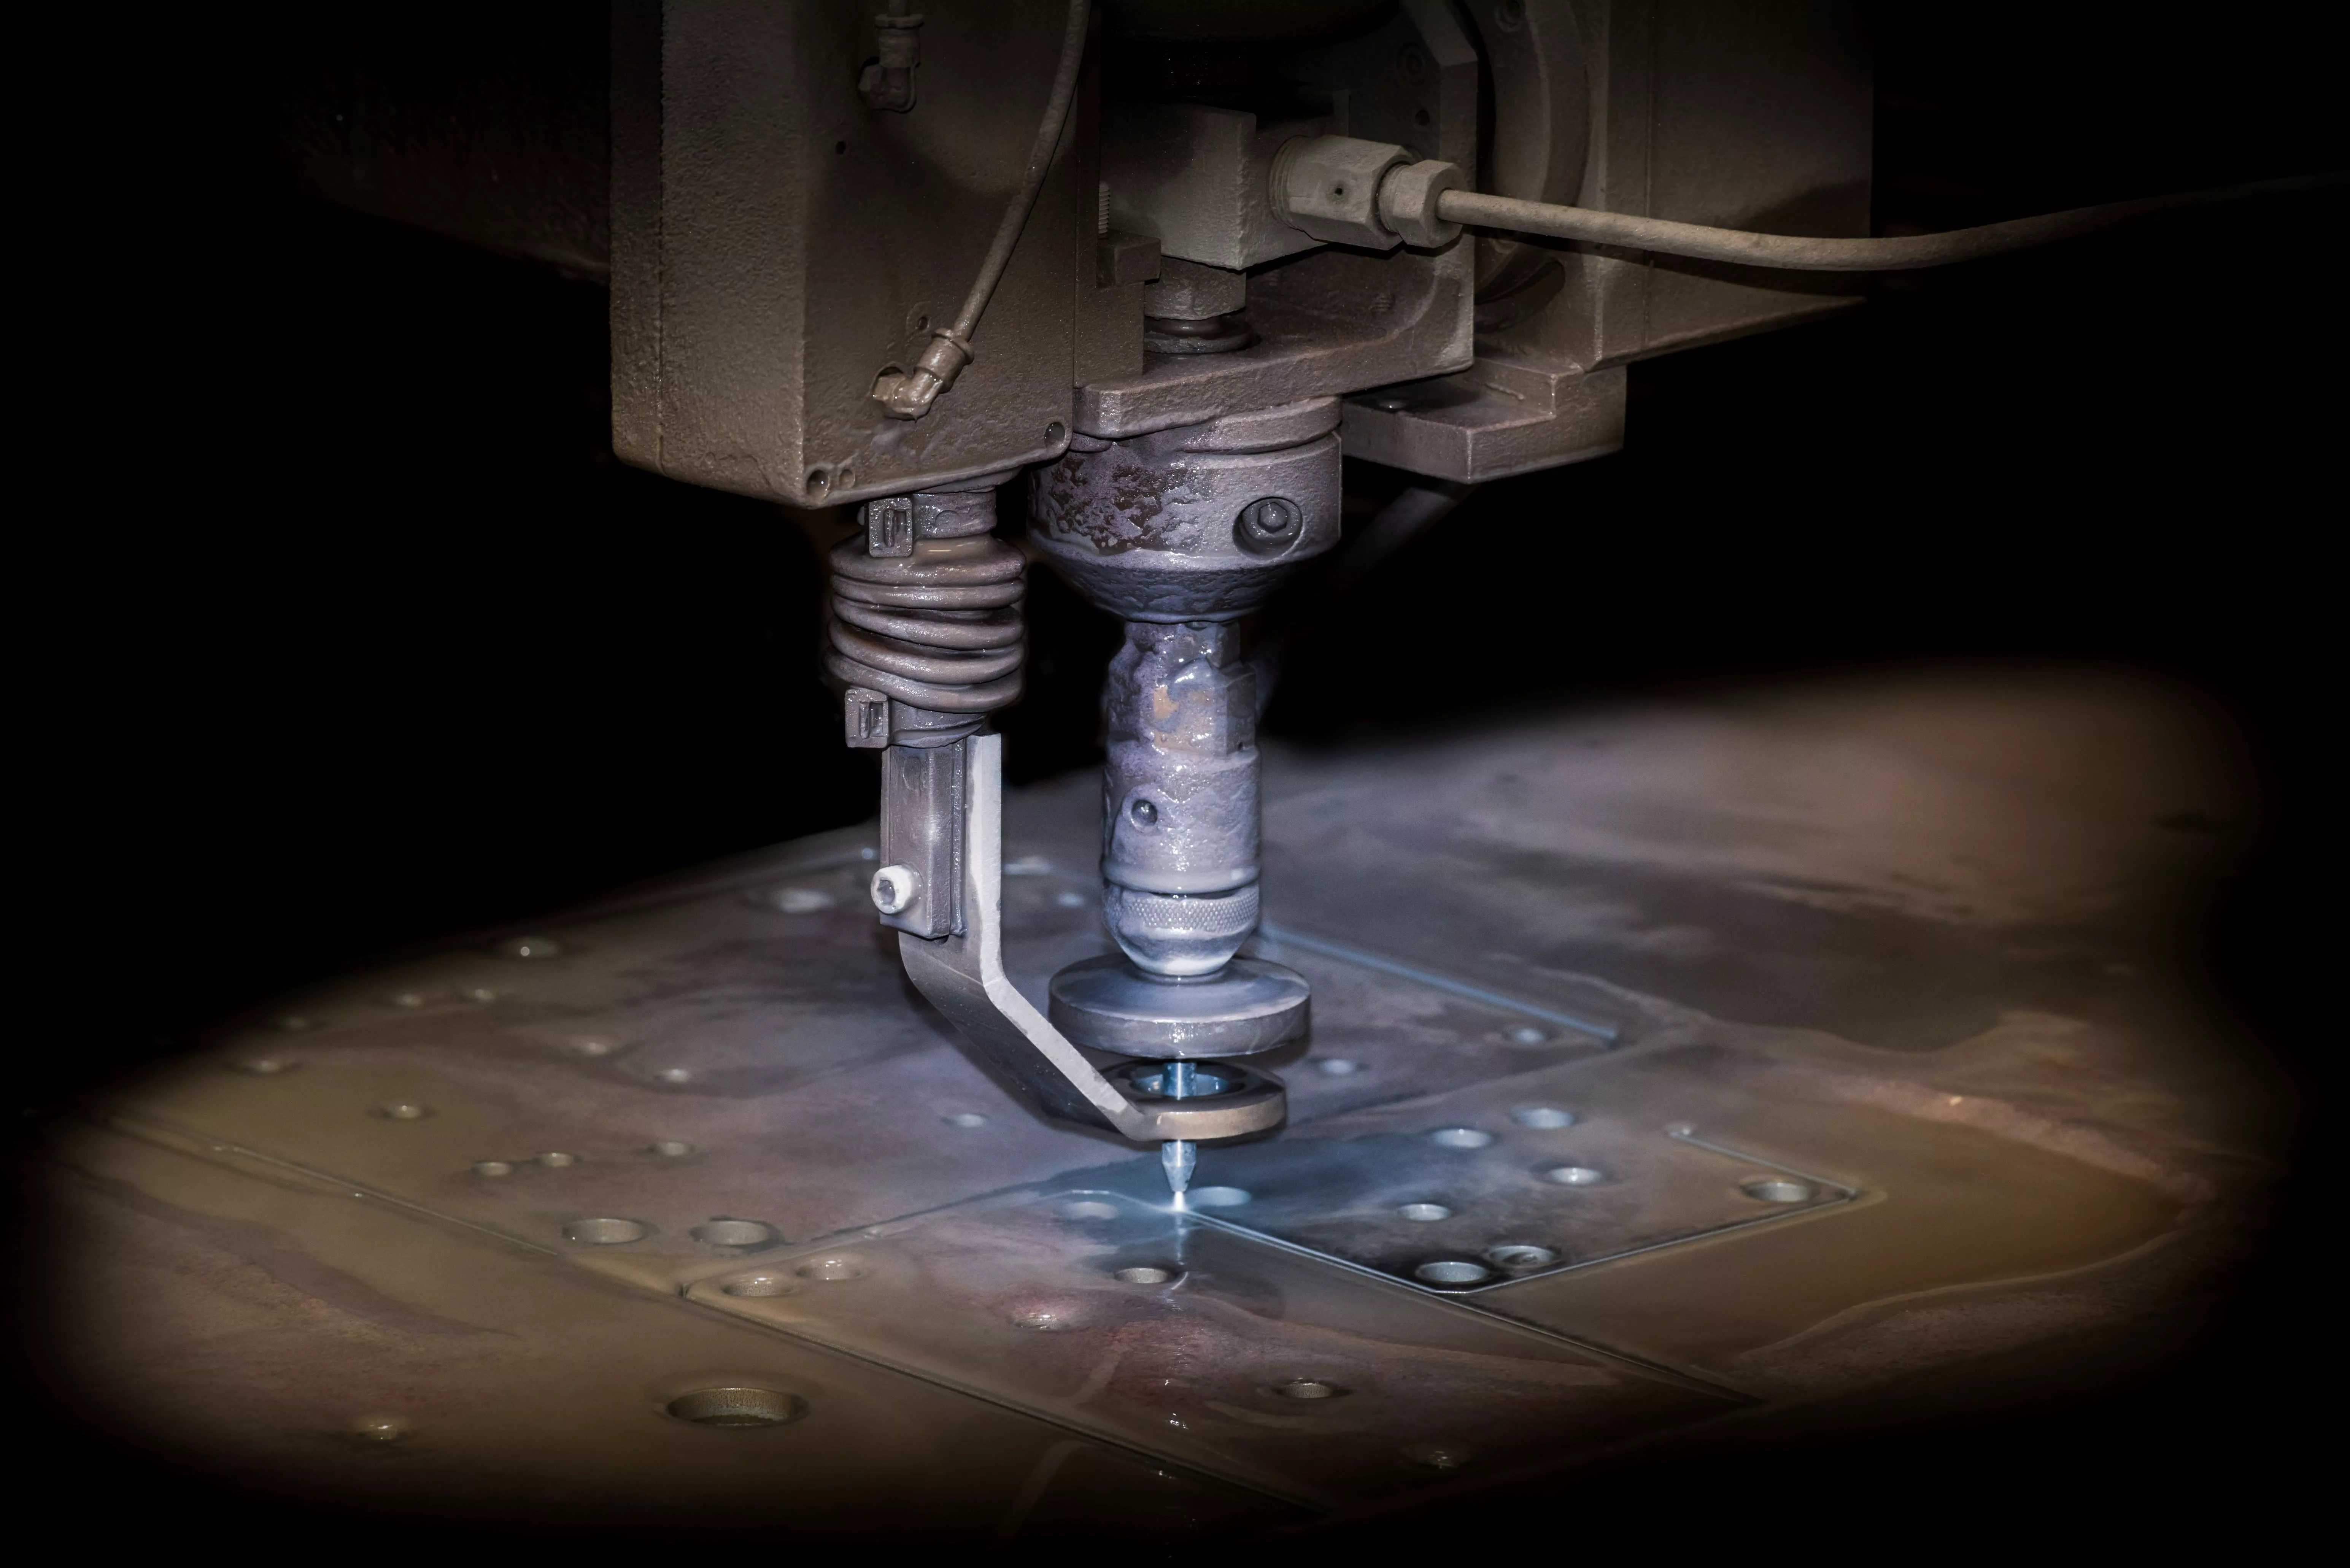
A tour of company facilities reveals two ultra high-pressure waterjet cutting centers (one 3-axis and one 5-axis), one 2- to 6-axis laser cutting center, and two press brakes, the largest of which has a capacity of 200 tons and a length of 2 meters. Additionally, Découpe H2O owns one dual action stamping press (300 tons at the ram and 100 tons at the cushion), as well as three machining centers, two 3-axis milling machines, one electrical discharge machine (EDM), and dimensional control systems.
“We are renewing our fleet of machines, offering clients ever more interesting services, and in so doing, remain competitive. For example, a year ago we invested in a 6,000 W fiber laser machine and in a waterjet machine with a cutting capacity of 2.50 x 4 meters and several hundred millimeters in thickness. Today, we have integrated, virtually, all our machines, with only surface treatment and heat treatment processes being outsourced,” Wollenschneider points out.

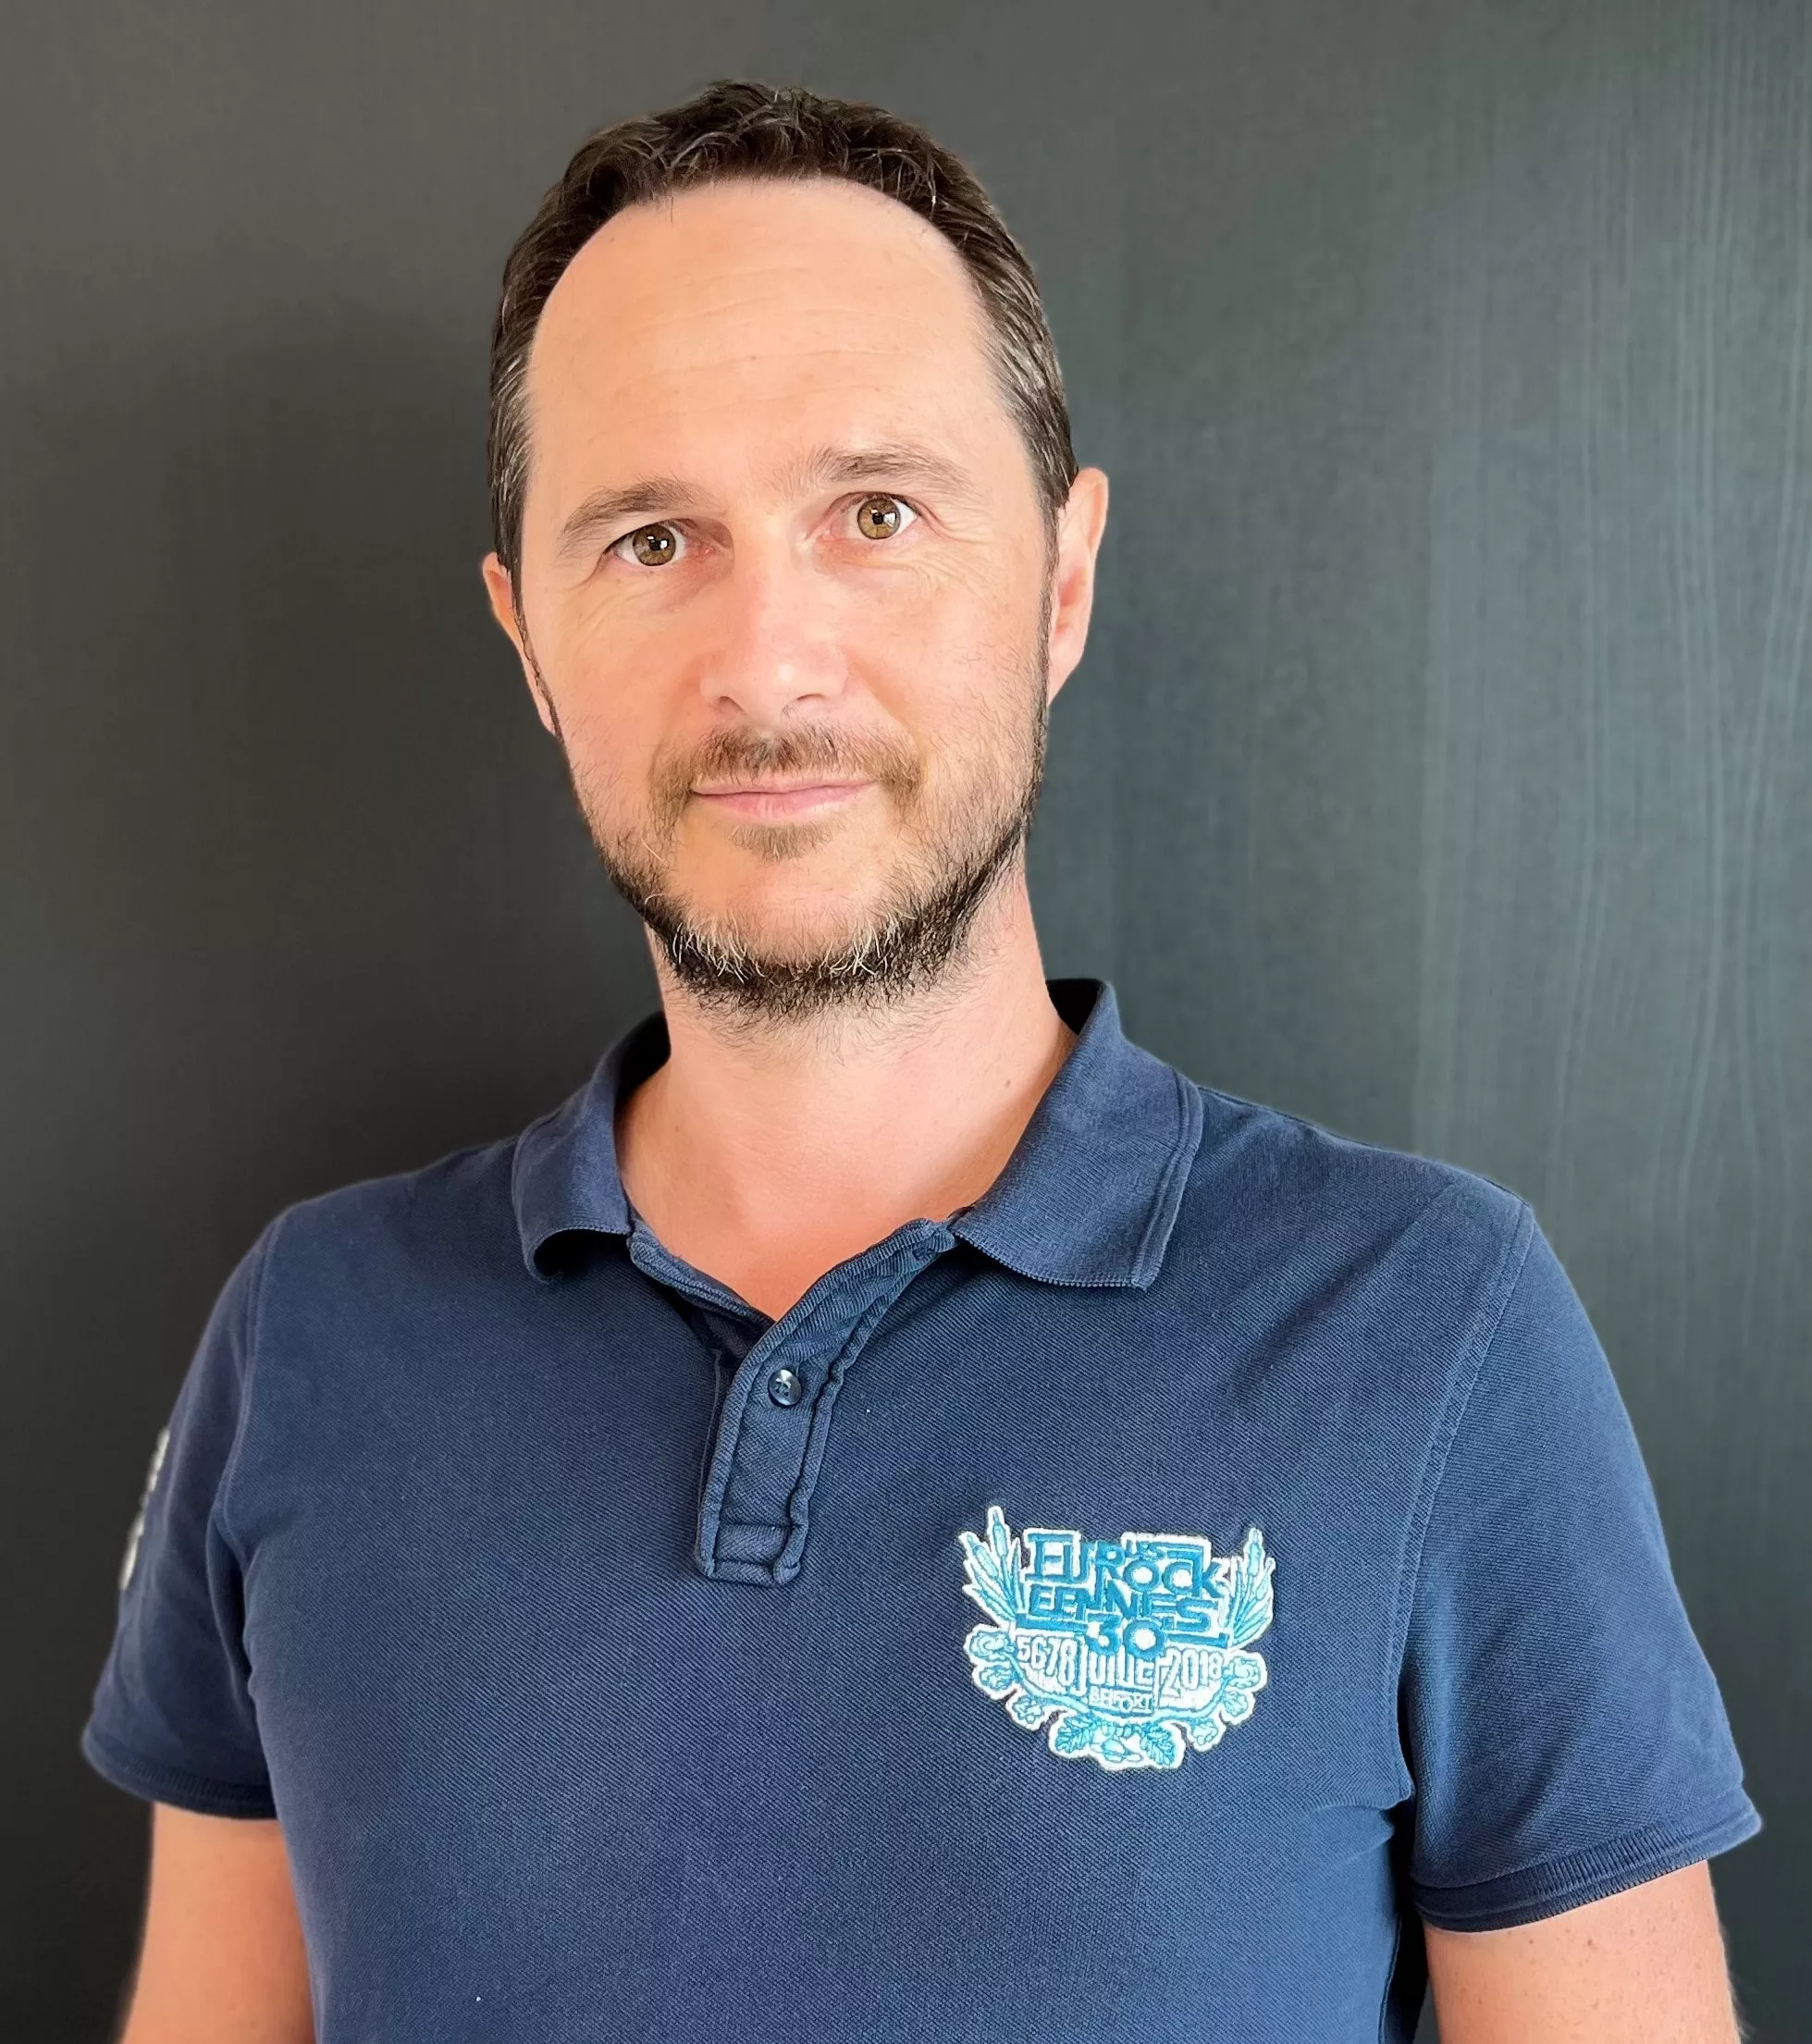
Marc Wollenschneider, president of Découpe H2O.
CHALLENGE
The need for dimensional metrology really emerged in 2013-2014, when the company started manufacturing small stamping parts. “The aim was to verify the compliance of parts produced with the customer’s CAD drawings and tolerances. Previously, more conventional tools were sufficient for checking bent parts or simple sheet metal parts,” Wollenschneider recalls. More modern technologies were required.
SOLUTION
PolyWorks chosen for probing devices
As a first step, the company purchased an articulated-arm measuring device to measure single parts. The choice of metrology software was very simple: “We turned to PolyWorks|Inspector on the recommendation of a friend who was using it in his company. Not only did he master the tool, but he also found it extremely easy to learn,” said Wollenschneider. He purchased the software from PolyWorks Europa, a subsidiary of the publisher of the PolyWorks software, the Canadian company InnovMetric. “We were able to use the probing version of the software without any training—only a bit of searching was needed to find the answer to a question,” he added.
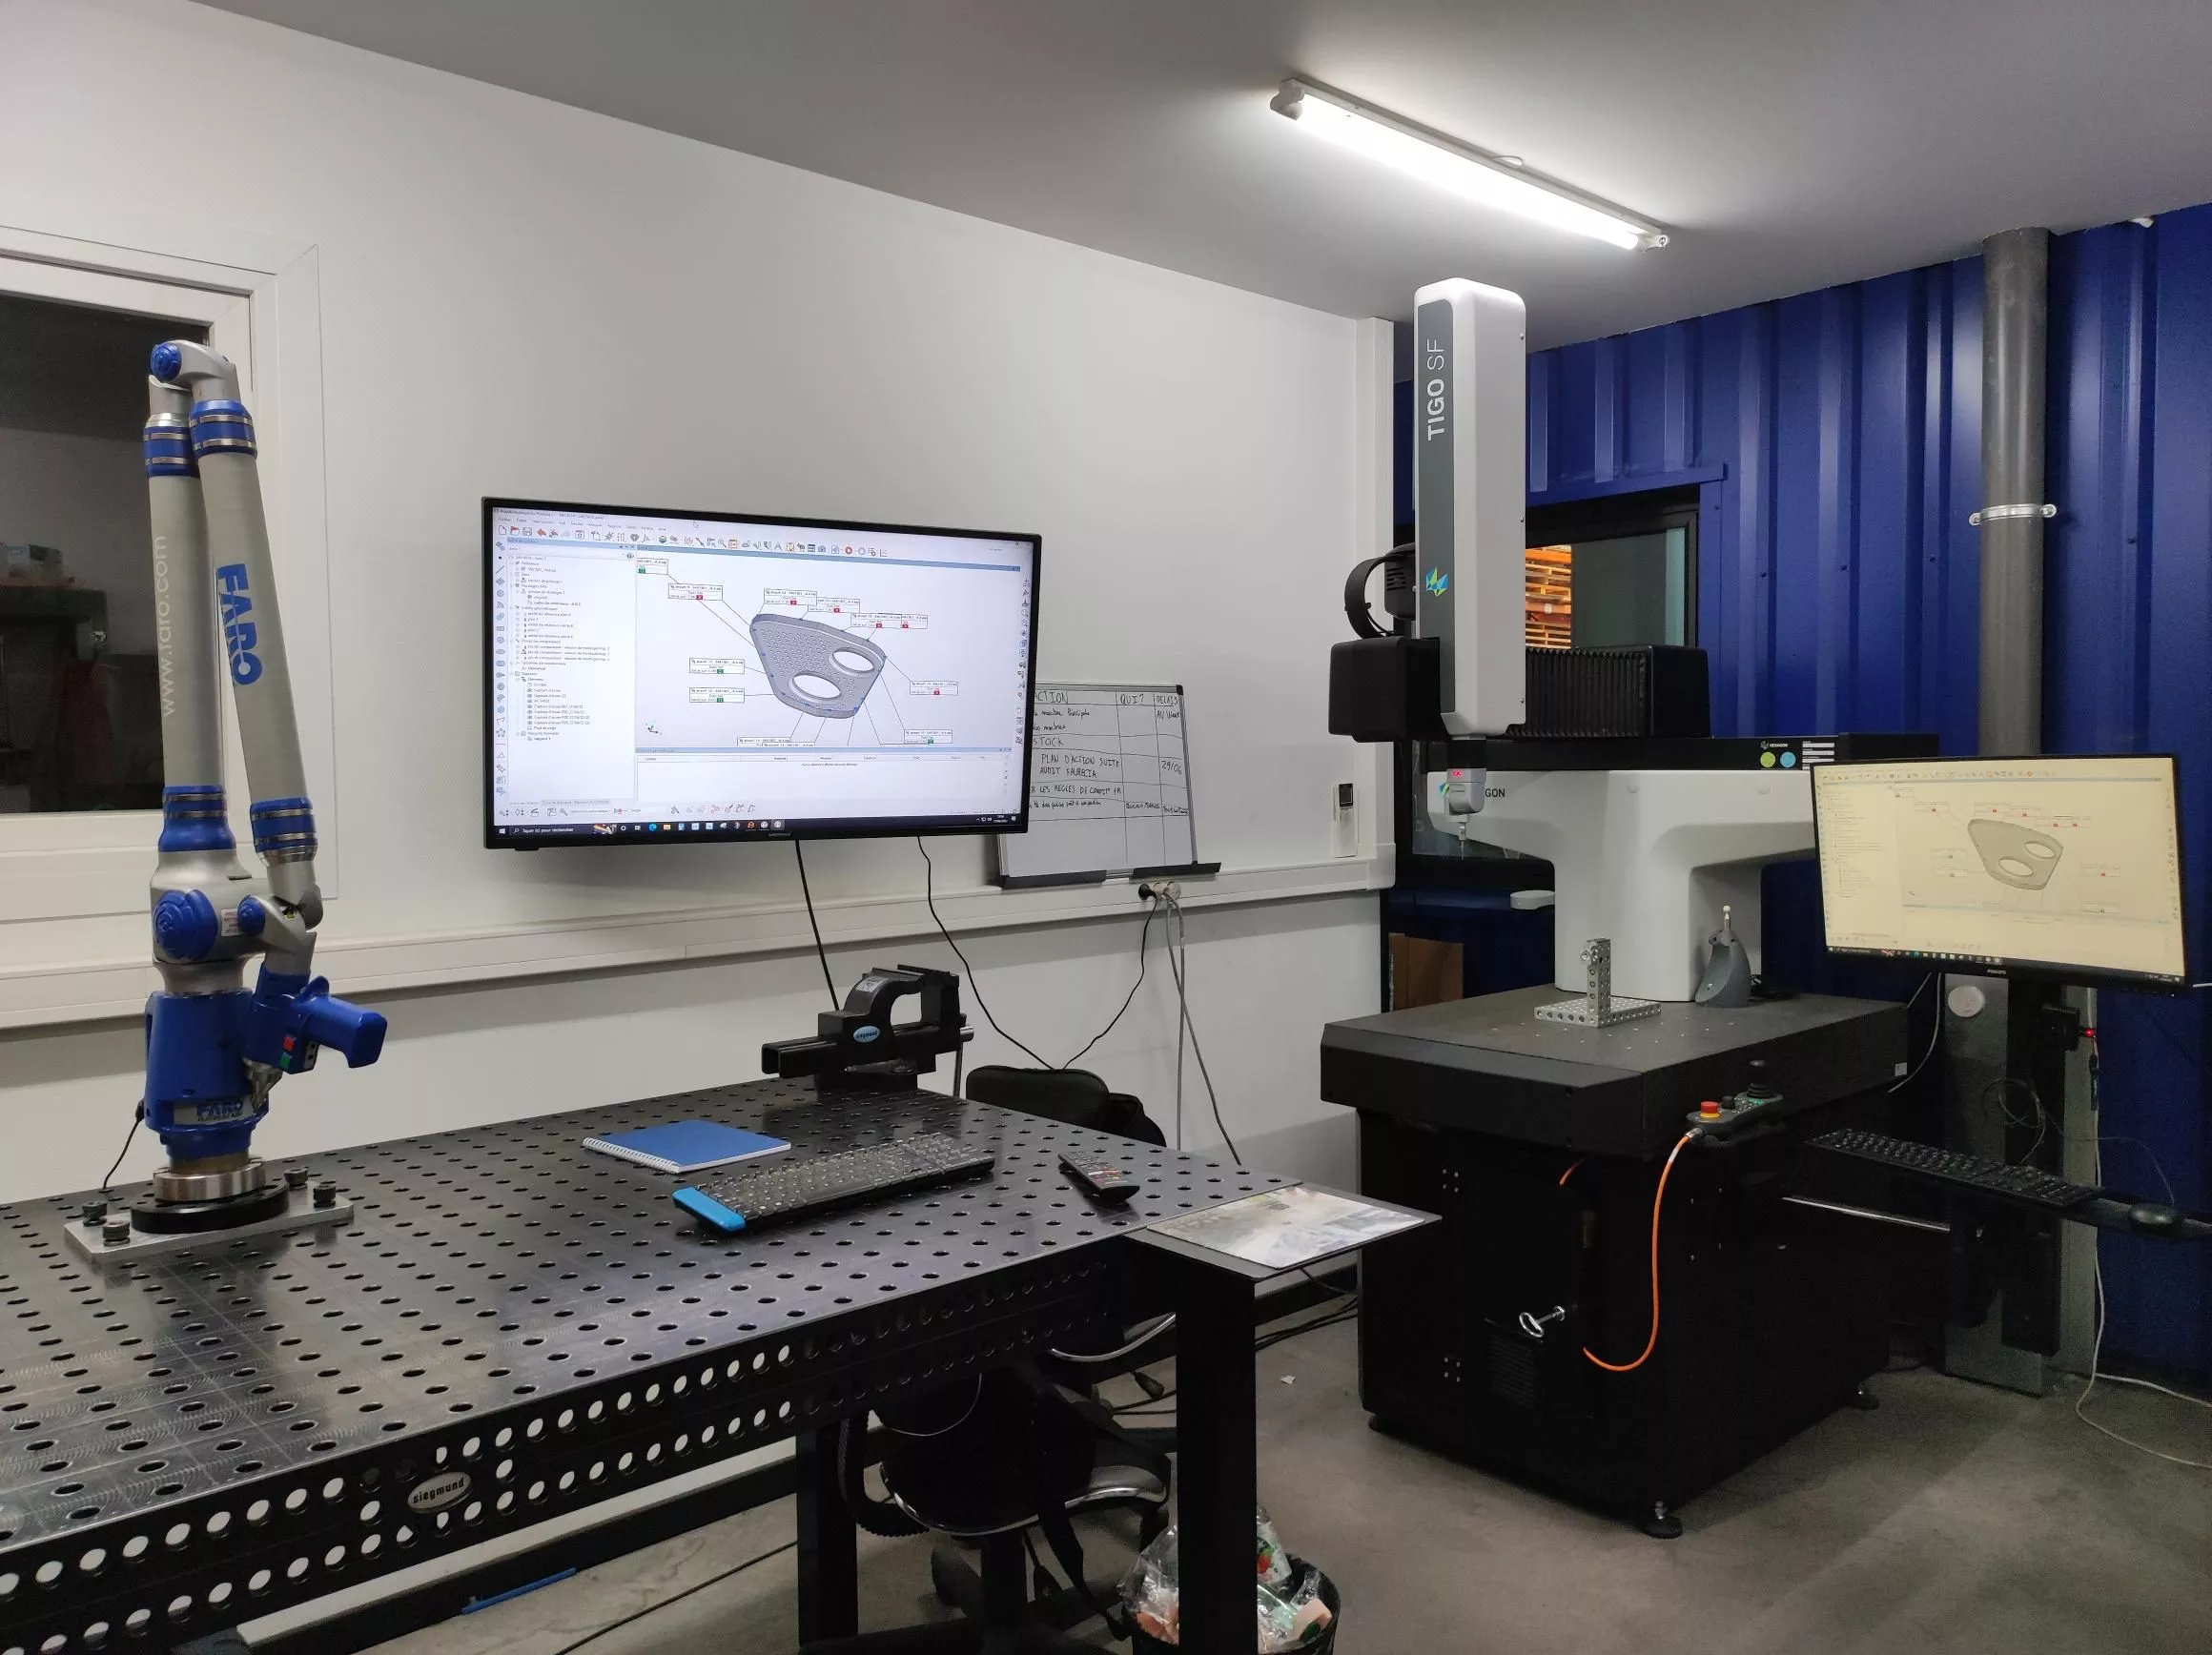
Faced with the limits of their own conventional measuring equipment in terms of repeatability and precision, Découpe H2O invested in a Tigo SF 3D coordinate measuring machine (CMM) equipped with an indexable head, from Hexagon Manufacturing Intelligence. “In fact, it was to meet the needs of one of our customers that we invested in this CNC CMM,” says Wollenschneider.
While the performance of the new dimensional control system was perfectly in line with the desired requirements, a stumbling block did emerge. The software initially purchased with the new CMM required a longer learning curve compared to PolyWorks, which could have penalized the company in terms of responsiveness. “I then contacted Loïc Marquet, Regional Sales Manager at PolyWorks Europa, to ask him if PolyWorks|Inspector could support Tigo SF CMMs. To my great delight, he said it could,” recalls Wollenschneider

By choosing to use PolyWorks|Inspector to control its new Tigo SF 3D measuring machine, Découpe H2O gains in responsiveness—after connecting to the machine and calibrating the tools, it took just 45 minutes to realize a measurement sequence that had previously taken several hours!
The CNC CMM ready for use in 2 hours
“It all happened very quickly. When we spoke late on Wednesday afternoon, I showed Marc how it worked with a Tigo SF during a 30-minute live demonstration and sent him the codes for an evaluation license. The very next afternoon, one of our hotline technicians helped him get started, connect, and calibrate the tools," explains Marquet.
“Two hours later, the machine was running in automatic mode to measure the first part, and one more hour was needed for me to be trained, since I already knew PolyWorks. All in all, I have only had one hour's training in my entire life,” insists Wollenschneider.
Since Découpe H2O already had a PolyWorks|Inspector license, all it took was an upgrade so that all four people could work with the articulated-arm measuring device and the CMM. If the company needs an additional license for a given period, it can rent one with the necessary modules to carry out the required control.
Since then, four people have followed a training with PolyWorks Europa: two metrologists, the machinist, and Marc Wollenschneider. They now use PolyWorks|Inspector on a daily basis, whether to fine-tune stamping parts, for in-process control, or to validate mechanical parts. The software is also used to adjust welding fixtures. In addition, the company provides measurement services to certain customers.
BENEFITS
The first advantage lies in its great simplicity and speed of implementation. “Another advantage is the time it takes to program a part inspection on the CNC CMM. Thanks to intuitive and visual programming, what took several hours with the software initially purchased only took 45 minutes with PolyWorks|Inspector," says Wollenschneider. “And this is all the more important as we manufacture a very large number of different parts.”
Another element that makes the 3D metrology digital ecosystem so quick and easy to implement on a CMM is that it already includes a large set of preconfigured machines, to which we add specific tools. “In the case of the Tigo SF CMM and its motorized head, both components were available in our catalog, enabling a direct connection into PolyWorks|Inspector simply by choosing each item from the drop-down menu. It really is plug-and-play," explains Marquet.
“In addition, there is no need to ask who knows the CMM or the portable arm among the four people trained on PolyWorks|Inspector. It is exactly the same software, and each person is capable of launching a measurement sequence and producing the measurement report,” continues Marquet.
A universal workflow
The guiding principle in PolyWorks|Inspector is a “universal workflow”, which makes all the difference. “Universality means that our 3D metrology platform has been developed so that no matter what measuring device you are working with, the software and the approach is always the same. Whether for scanning and probing applications, we offer plug-ins for portable devices, laser trackers, computer numerical control machines (CNC CMMs), and more, all included in the initial purchase price. But the part inspection workflow always stays the same, making it so easy for users to adopt,“ mentions Marquet.
Finally, on the cost side, Wollenschneider adds, “We had calculated that the dimensional control of three or four complicated parts would be sufficient to recover the purchase price of the license upgrade.“ He also has plans for the future. “There is no shortage of possibilities, such as the integration of laser scanners into PolyWorks|Inspector.”